Building the Evolution Bike Rack
 I am a professional truck driver. I am an amateur carpenter, engineer, and bicycle enthusiast. Before I joined the team run smart program I did not have a passenger seat in my truck. In place of the passenger seat was my bike. I had bolted a blockhead bracket to the closet. The front fork of my bike attached to the bracket. It worked great. My first truck here was a mid roof. I needed my front seat. The only way for me to carry my bike was to remove both wheels and place the bike in a bike bag. The bike bag would lie on my bed during the day. At night I would place it between the seats. The wheels were stored under the bunk. It did not work well, and I quit carrying my bike.
Then I was told that I would be getting Jimmy's condo sleeper. My response was- “Great, I can build a bike rack in the top bunk”. The folks at Freightliner are serious about promoting health as a pillar of a 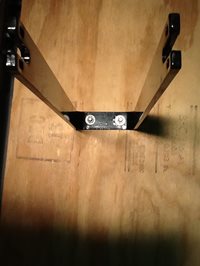 success for an owner operator. They are also good about listening to new ideas to improve the truck. Designs for the rack were dancing in my head. My basic plan was to remove the top mattress, place a piece of plywood where the mattress sits and attach the necessary hardware.
The fact that the top mattress fits into a tray made the design fairly simple. It also made it affordable. The cost of the project was about $100. The 2 hardware pieces that I needed were a blockhead spindle bracket and a wheel fork. They were both $34.95 or $69.90 together. I bought a full size sheet of 3/4” plywood. That ran me $24. The bolts that I purchased were 16 cents a piece, the washers were 5 cents and the nuts were 6 cents. I needed 4 sets, but I bought 5, just in case. So the hardware cost was $1.30. The cost of the project was $95.20 plus $5.71 tax for a grand total of $100.91. I was a little bummed that I did not bring the project in for less than $100. The fact that I 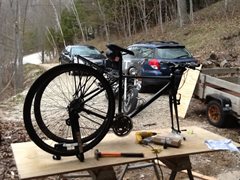 was able to use the leftover plywood for utility shelving made that easer to swallow.
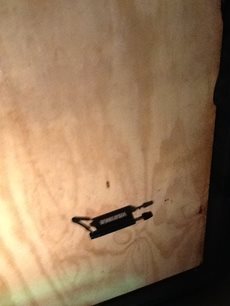
The inside of the tray measured 28” x 77 “ and I cut the plywood to fit. At the same time I attached to blockhead bracket to the board. I decided to attach the wheel fork after I got the plywood into the bunk trey. 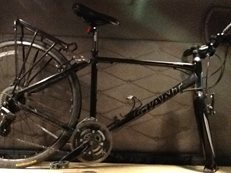 It was going to be challenging enough to get the plywood through the cab without damaging anything. I was a little afraid that I might have to cut the plywood in half. That was something that I wanted to avoid. One piece would be stronger. It was not too hard to get the plywood through the cab and into the trey. There is a space between the top bunk and the cabinets that make it fairly easy. Be sure that the block head is on the right side. It will make the placement easier. Also make sure that it is far enough in so that your handlebars do not rub against the interior. Once in then you can attach the wheel for. You may also want to place short 1x4 s on either side of the rear wheel or it will slide. The pictures should show you how it will look. You may also want to check out the FB group rideandroll cycling on the road for more ideas.